Make your own Seaweed Pressing
The simple steps to create your own seaweed art
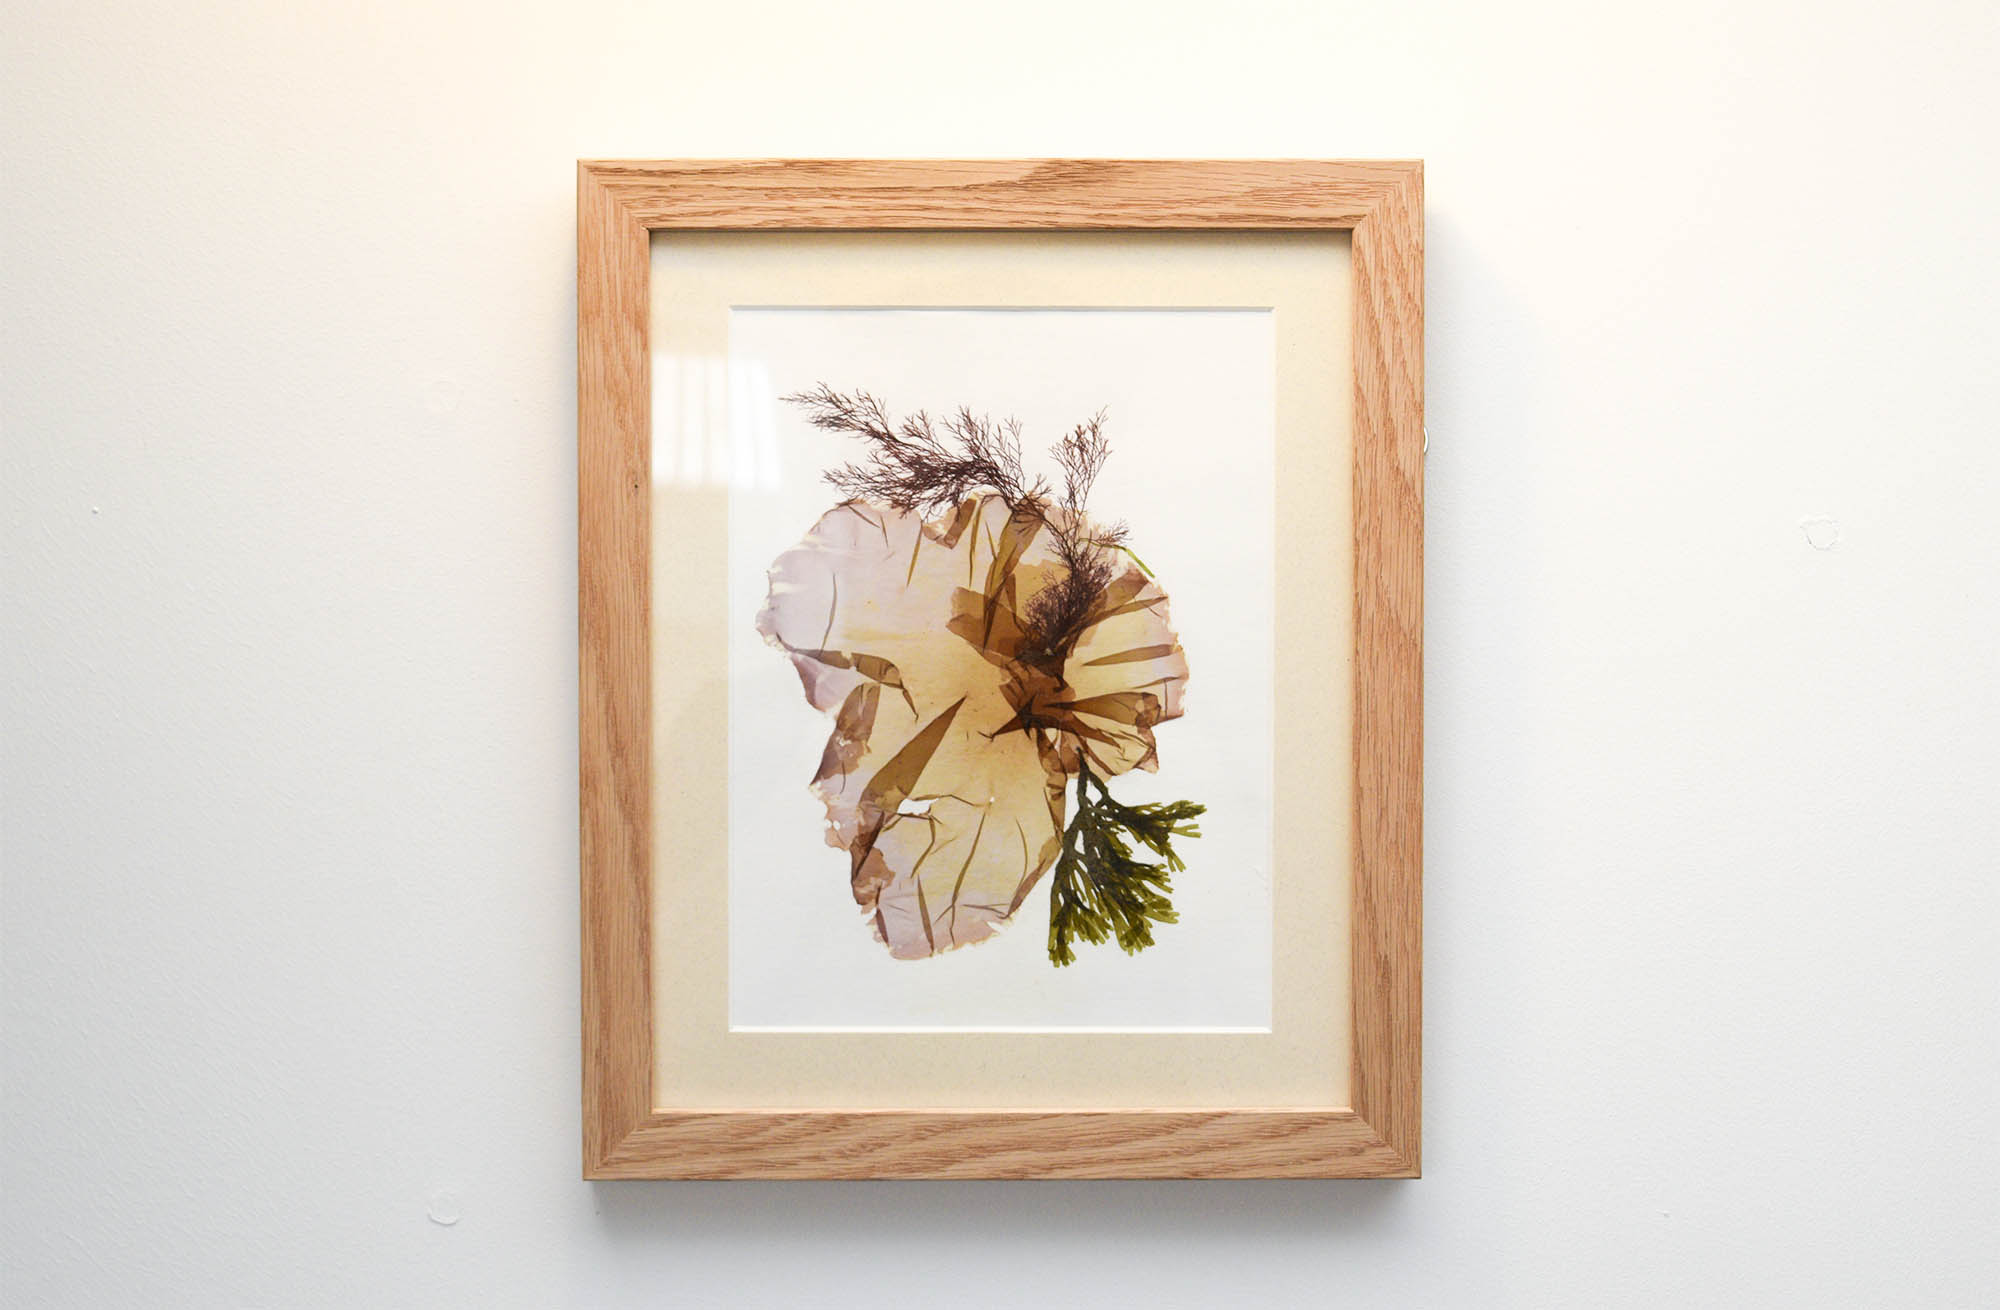
You might have come across an exotically looking picture with a pressed seaweed on it. This extremely delicate technique was popular in Victorian times and is now being re-discovered by many artists and brands like Molesworth&Bird. Pressing seaweed is not only a unique way to create artwork made of natural material, but it can also show the incredible variety of species which can be found on the British Isles.
One interesting difference between pressed seaweed and pressed land plants is that pressed seaweed can keep its colour for decades. The oldest sample kept in the museum is around 150 years old!
Our seaweed art is more of a celebration of the marine world where we try to envisage an underwater scene rather than depicting it as a traditional botanical print. That means that the composition of every piece is original, with a different feeling and mood to it.
If you have access to the beach, you can always collect your own seaweed and try to create a unique artwork. This step-by-step guide should help you to achieve a desirable result.
It is how we do it but it is by no means the only way. See below for each step.
1. Empty your seaweed into a shallow dish pan and cover it with water so all the seaweed is submerged.
2. Place the watercolour paper into the pan and fully submerge it underwater. Then arrange the seaweeds on top and make a composition.
3. Use a tool to arrange the more delicate seaweeds on the paper to achieve a composition you are happy with. I prefer to use a chopstick but I know others who use paintbrushes.
4. Prepare sheets of newspaper to go on the bottom. Followed by layers of tissue paper. Do this twice for the top and the bottom. I dry and reuse all these materials for making more pressings.
5. Gently raise the paper with the seaweeds up from the pan. Do this slowly to ensure the seaweeds stay in place. Although I find they never do but that’s part of the challenge.
6. You can tilt the paper as you are taking it out to achieve interesting compositions. The water and gravity will pull the seaweeds into interesting positions.
7. Place the pressing face up onto the bed of newspaper and tissue paper.
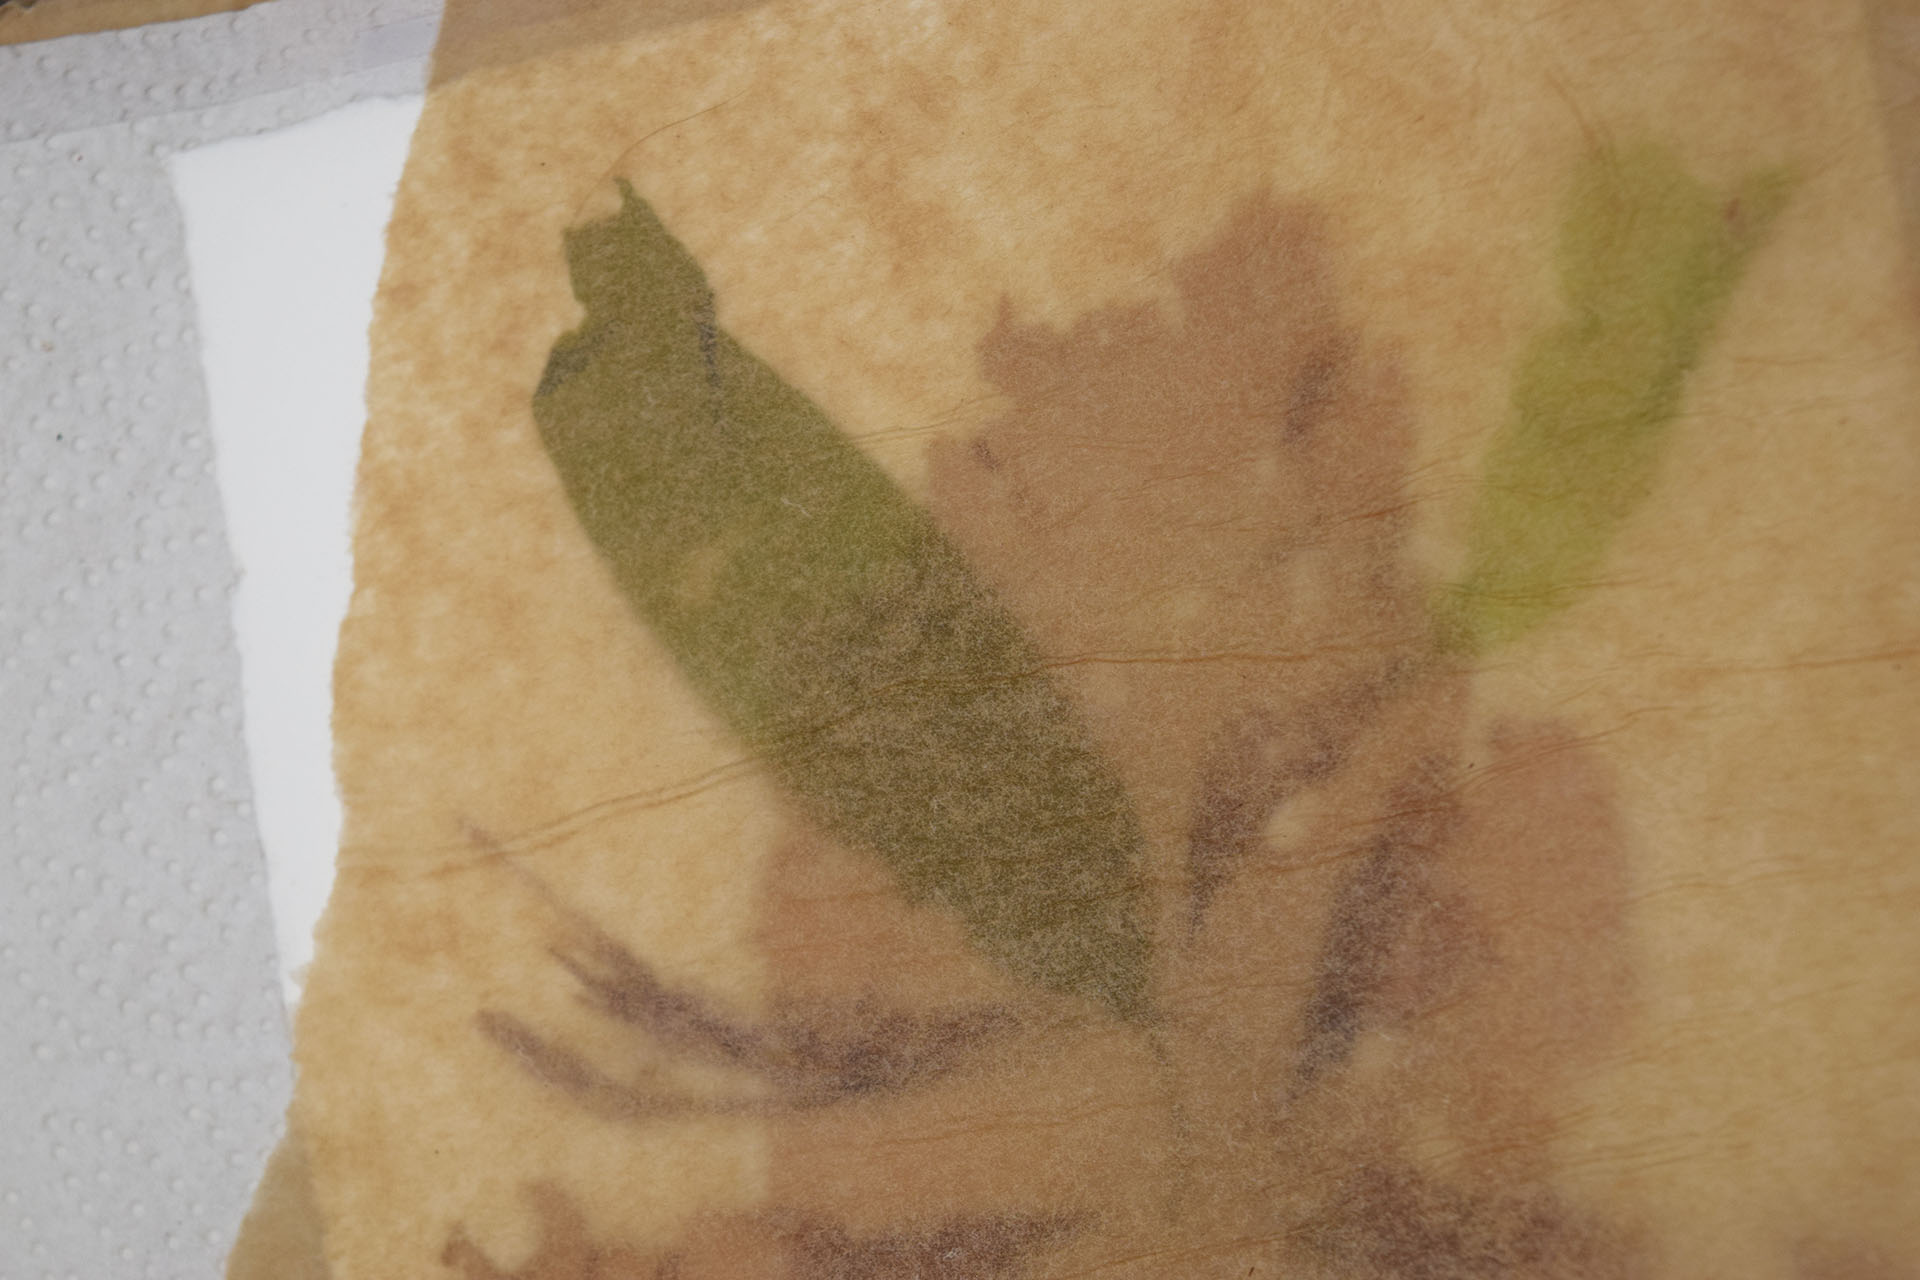
8. I find it’s best to Cover the seaweed with a sheet of waxed paper or baking parchment, as it doesn’t stick as much as tissue paper when you come to pull it off the seaweed. Then place more layers of tissue paper and newspapers on top of the parchment layer.

9. Then gently lift a heavy book on top of it (Even better than a book, if you have or can make a wooden press then that's the way to go). If you are creating more pressings just repeat the process and layer up the books so the seaweed pressings have plenty of weight on top of them. Every day for about three days or so keep replacing the paper and cloths until the pressing dries out and remains pressed. Once it is dry, you can stop changing the papers and let it stay pressed under books or wooden press for a couple of weeks to a month. Some need longer, others shorter.
And always remember to relax and have fun. It may or may not come out as you planned. Most of the time the mistakes are what make it even better!
https://www.houseandgarden.co.uk/article/pressed-seaweed-victorian-pastime-craft-algae